Concord Online (v2.1) Data Migration Tool
To import your Notebooks from Concord Online (v2.1), follow these steps:
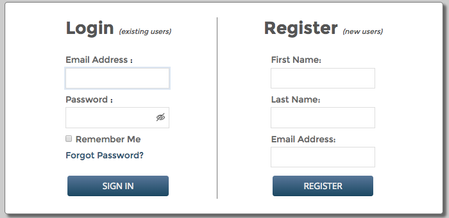
1. Login to your new Concord account at concord.christianscience.com. Click the Login/Sign up button to Login to Concord:
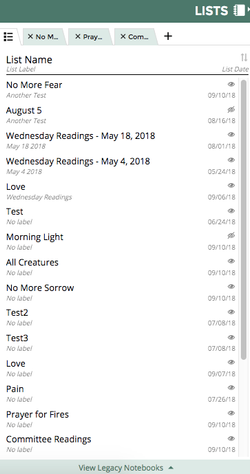
2. Go to the "Lists" panel on the right side of your screen
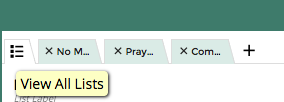
3. Click the "View all Lists" icon to the left of your list tabs.
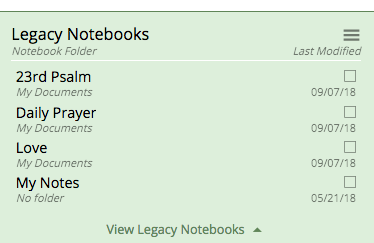
4. In the bottom right-hand corner, click "View Legacy Notebooks."

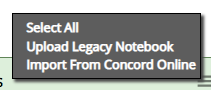
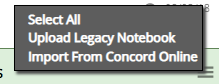
5. Click on the Legacy Notebook “List Options” menu (3-horizontal lines) on the right-hand side of "Legacy Notebooks."

6. Click "Import from Concord Online."
7. A new window will open “Login to Concord Online 2.1.” Enter your Concord Online (v2.1) login info
Note: the email and/or password may be different than the new Concord login info.
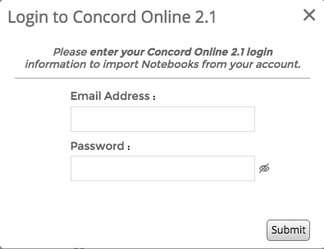
8. Click "Submit."
9. A new “Import Notebooks” window will open.

10. Check the boxes for the specific notebooks you would like to import to new Concord.
OR To select all, check the box in the dark green bar at the top. If applicable, check the box(es) for the your “Available Annotations” as well.

11. Click "Import."
12. Your notebooks will now show up under "Legacy Notebooks." If you click on them, you can view them as read only.
To activate editing of your Notebooks, Convert them to Lists:
1. Check the boxes for the specific notebooks you would like to convert to Lists.
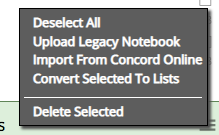
OR To convert all Notebooks, click the Legacy Notebook “List Options” menu (3-horizontal lines), and choose “Select All.”
2. Click the Legacy Notebook “List Options” menu (3-horizontal lines), and click “Convert Selected to Lists.”
All your Notebooks from Concord Online 2.1 should now be in your main List Menu of new Concord.
You should now be able to add citations, edit existing citations, rearrange the order of them, or add notes.
Please be sure to inspect your notebooks to verify that they imported correctly and nothing was lost during the data migration process.
Related articles